
Set up an enterprise payer
An enterprise payer can pay for several Proofline organizations. Each organization keeps its own credits, balance and spend limits. Open Enterprises from your account menu and choose the enterprise’s Payer page. If you only manage the payer, select it under Payers you manage.
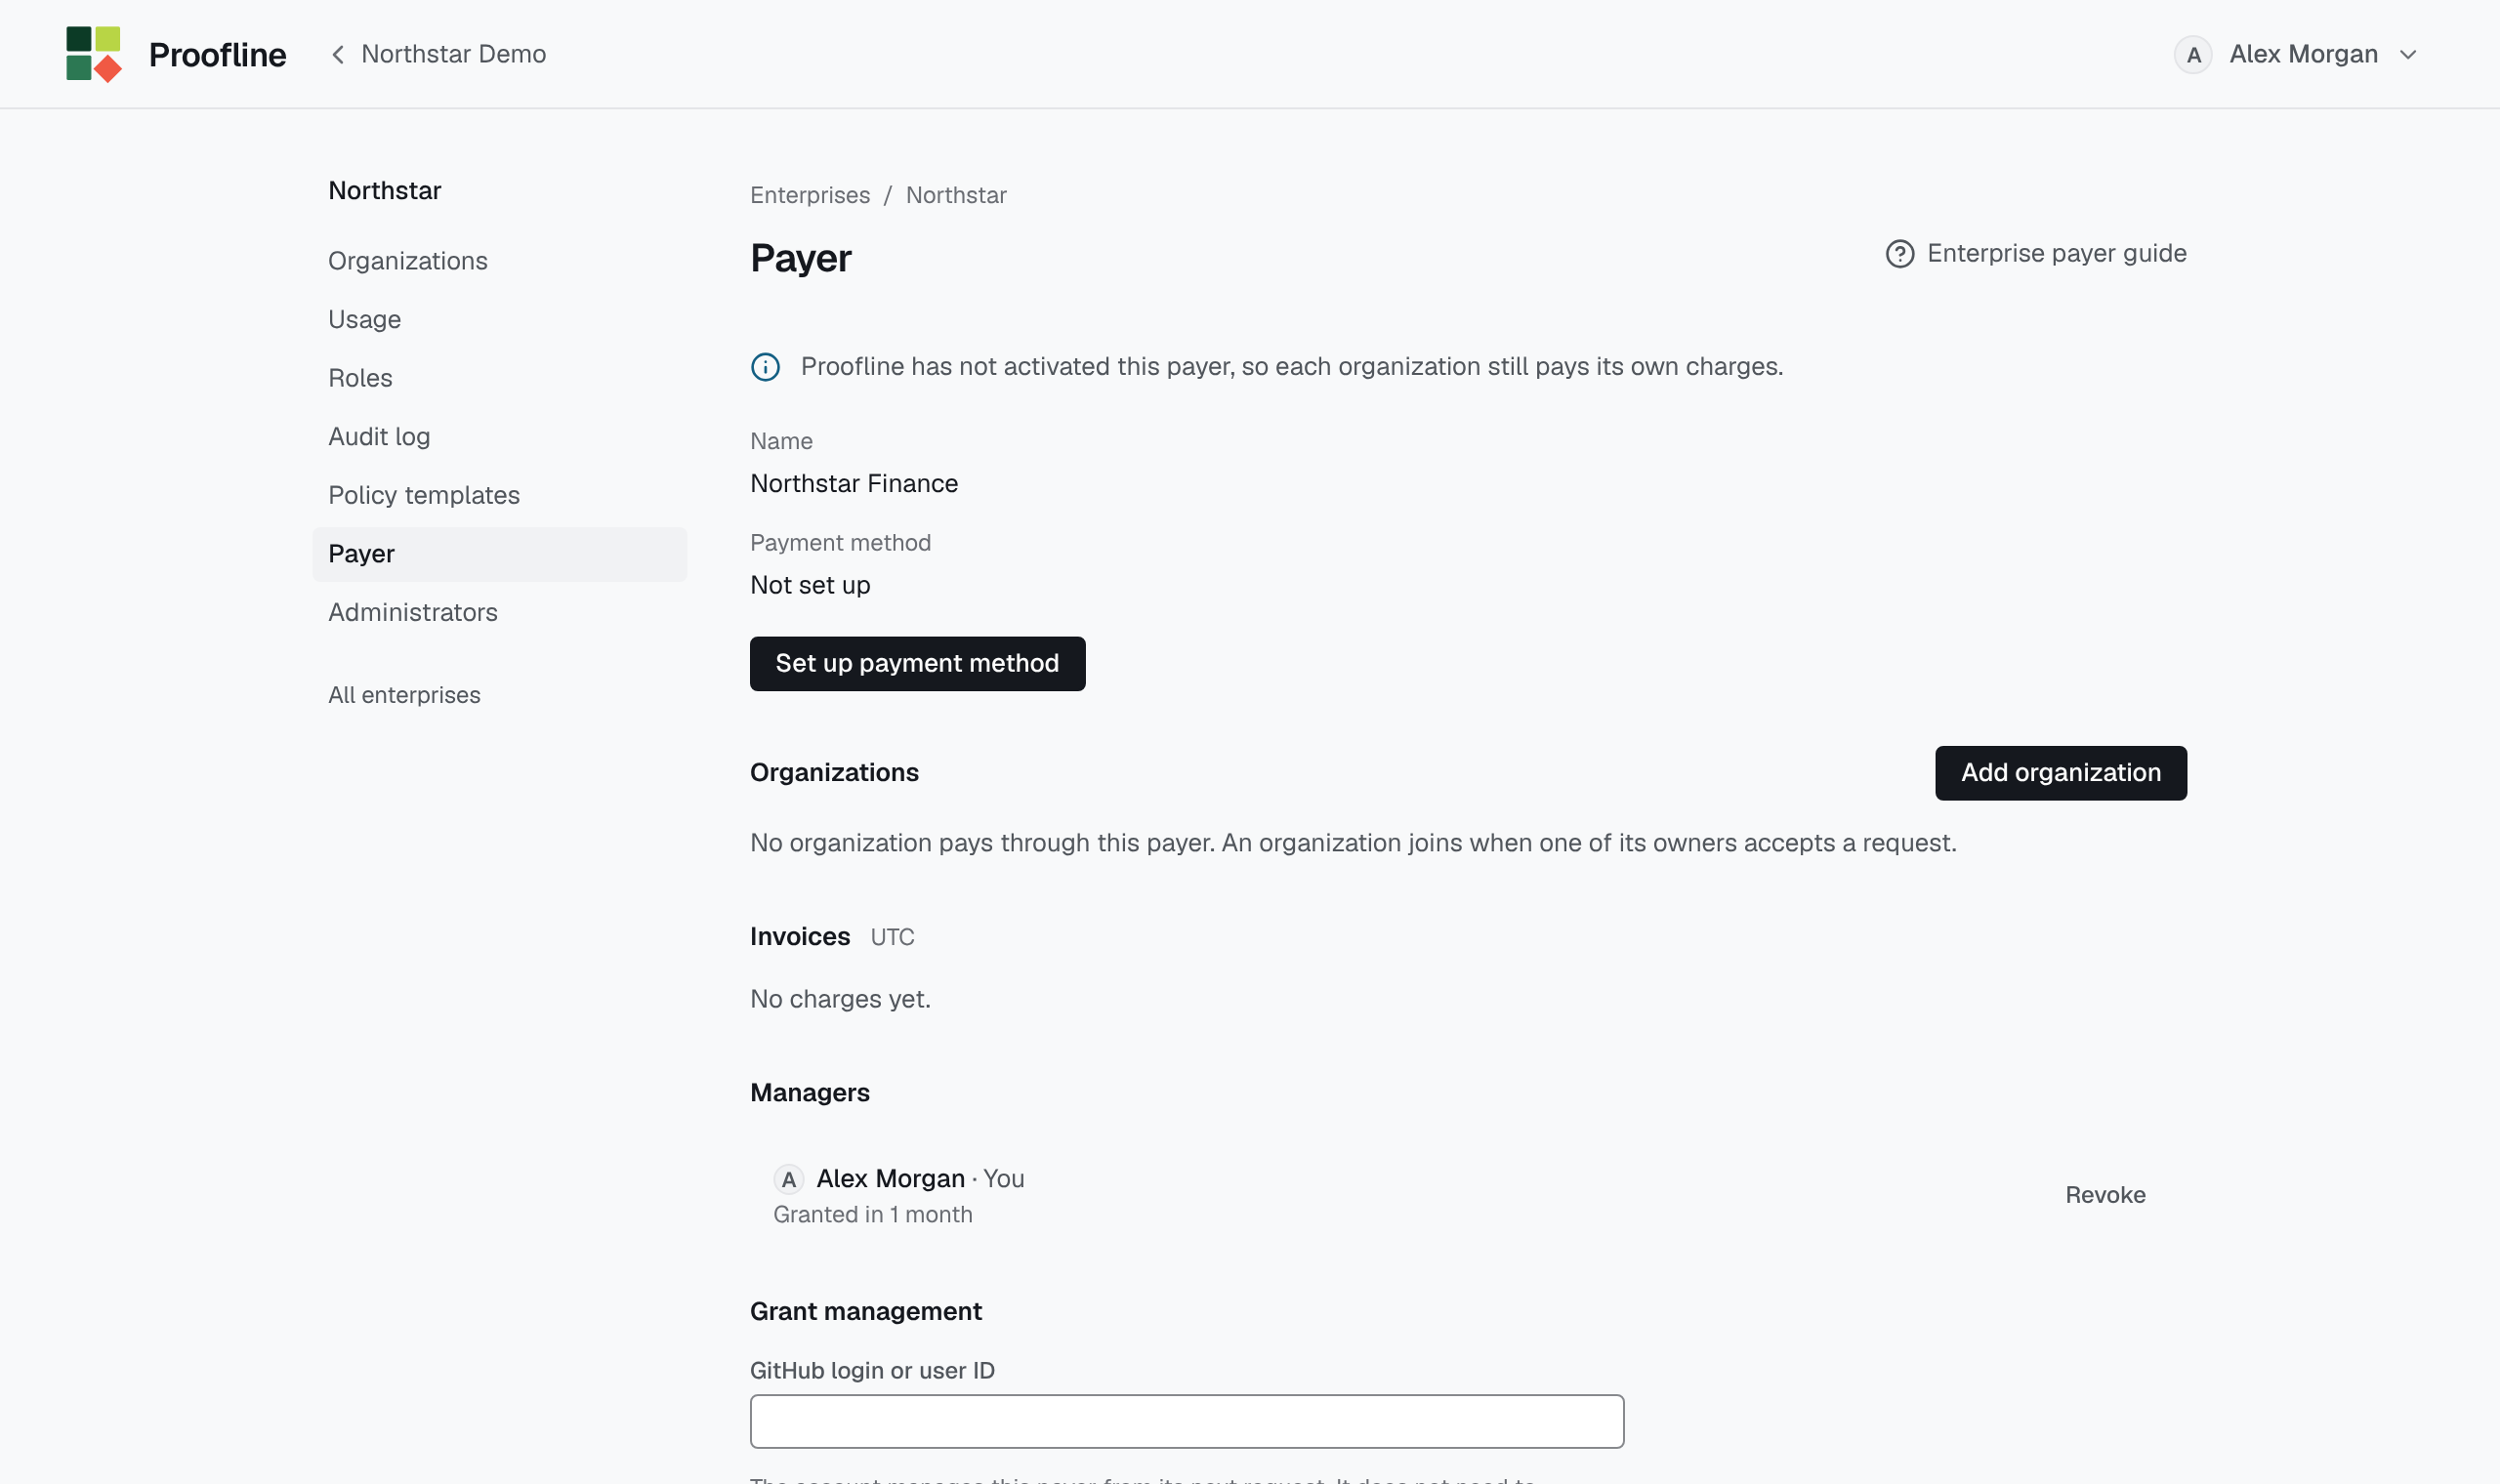
Set up payment#
An enterprise administrator selects Create payer and enters a name. Under Grant management, the administrator can give another account permission to manage payment, membership requests and invoices.
As a payer manager, select Set up payment method. Confirm that the named payer is the contracting party for every member organization, then select Continue to Stripe. On returning to Payer, check that Payment method says Set up. If Stripe has yet to confirm it, reload the page after a moment. While Proofline shows the payer as inactive, each organization pays its own charges.
Add an organization#
The payer can add only an organization already linked to its enterprise: an enterprise administrator invited it and a GitHub owner of the organization accepted the link. See Link an organization to an enterprise.
- Under Organizations, select Add organization.
- Choose a linked organization you belong to. Set Monthly purchase limit (USD) to the amount its administrators can spend on purchases through the payer in a UTC month.
- Select Request membership. The request appears under Open requests.
- A GitHub owner of the organization opens Settings → Billing and selects Accept payer or Decline.
Acceptance turns off the organization’s own auto top-up. With an active payer, the plan, seats and purchases are billed through the payer from the next month. Check Pays from for the effective date.
Check charges or end membership#
Under Invoices, read the month’s charges to identify the organization and amount. To cancel an outstanding invitation, choose Withdraw request. For an accepted organization, use its membership action and confirm End membership.